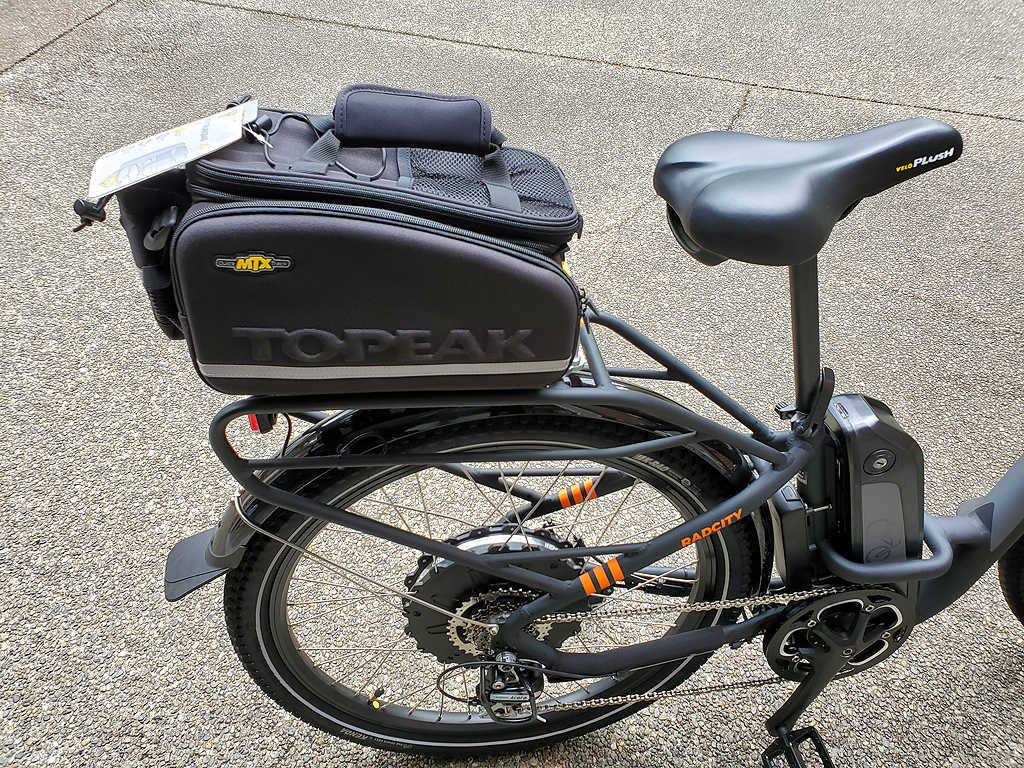
Rear bag install. Installing a rear Topeak MTX Trunk Bag DX using the MRI-Denver Universal MTX Deck Plate


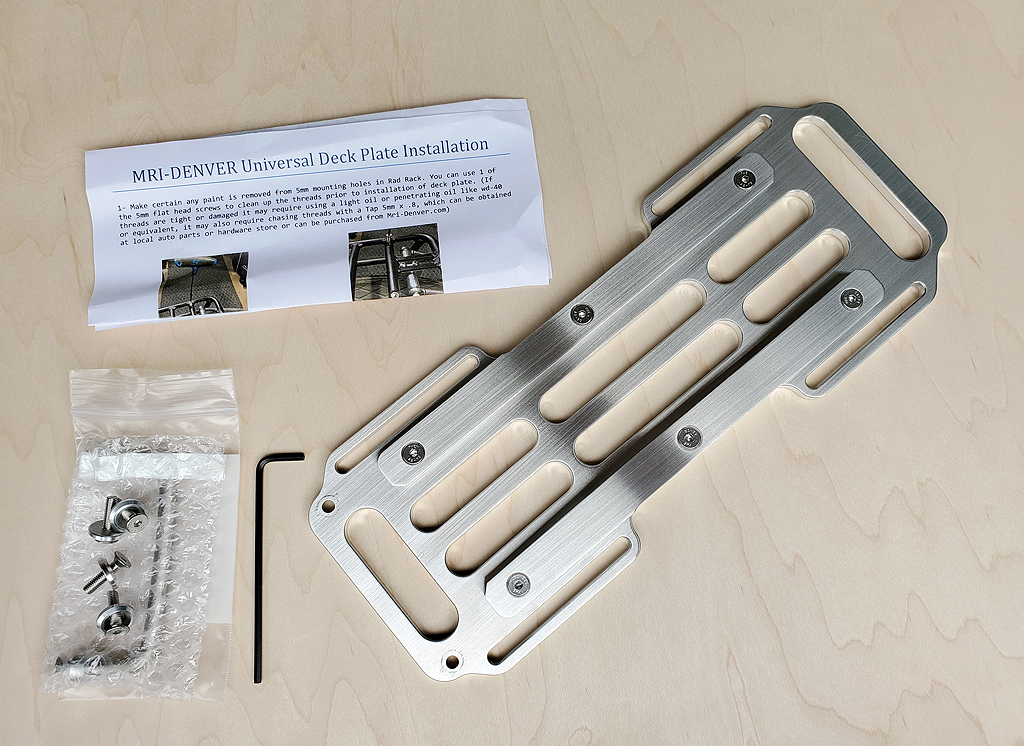
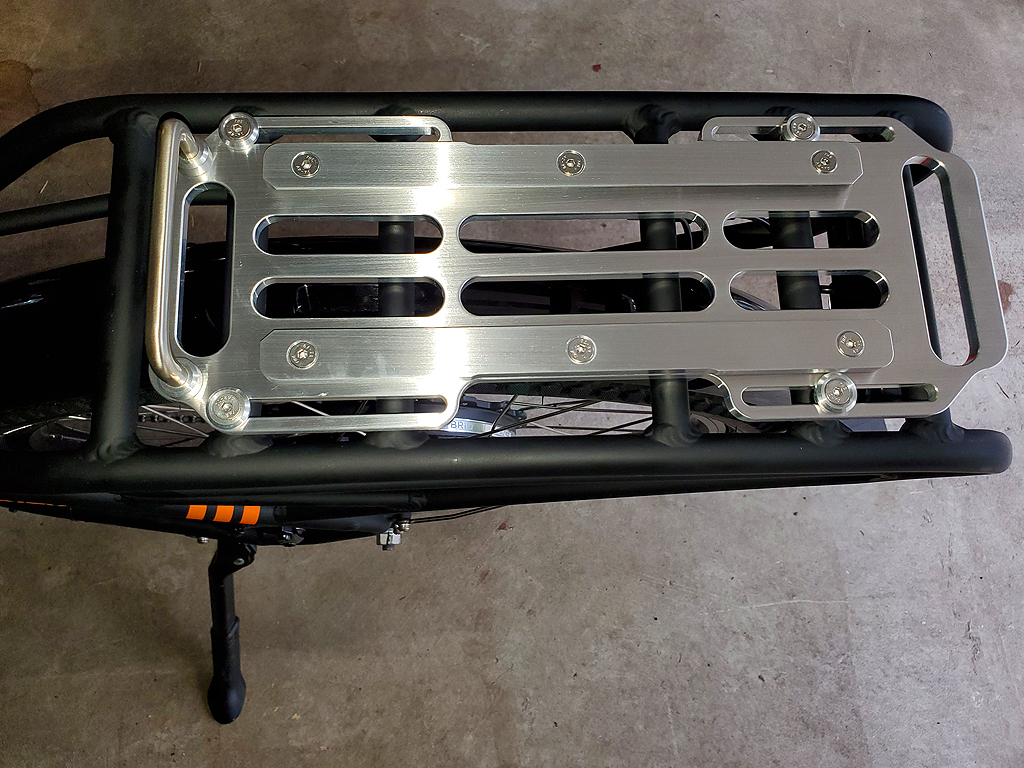
The MRI-Denver Universal MTX Deck Plate arrived.  This thing is a piece of art.  Very well made.  I opted for the non painted plate as it's going to be mostly covered by the Topeak MTX Trunk Bag DX anyway.
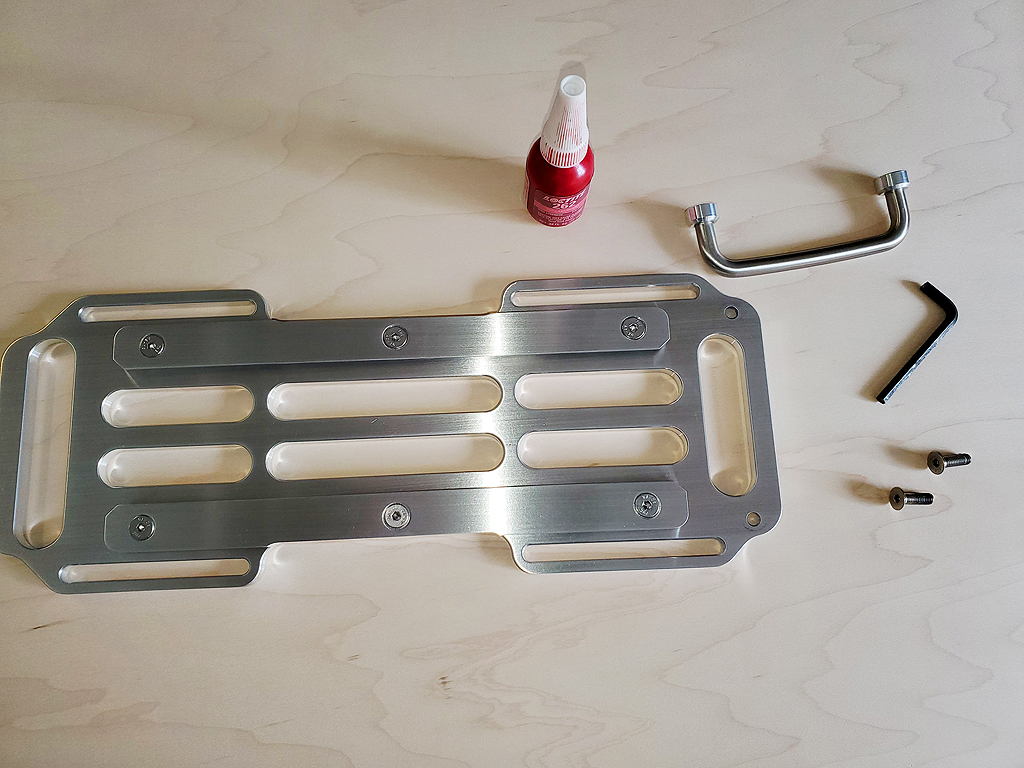
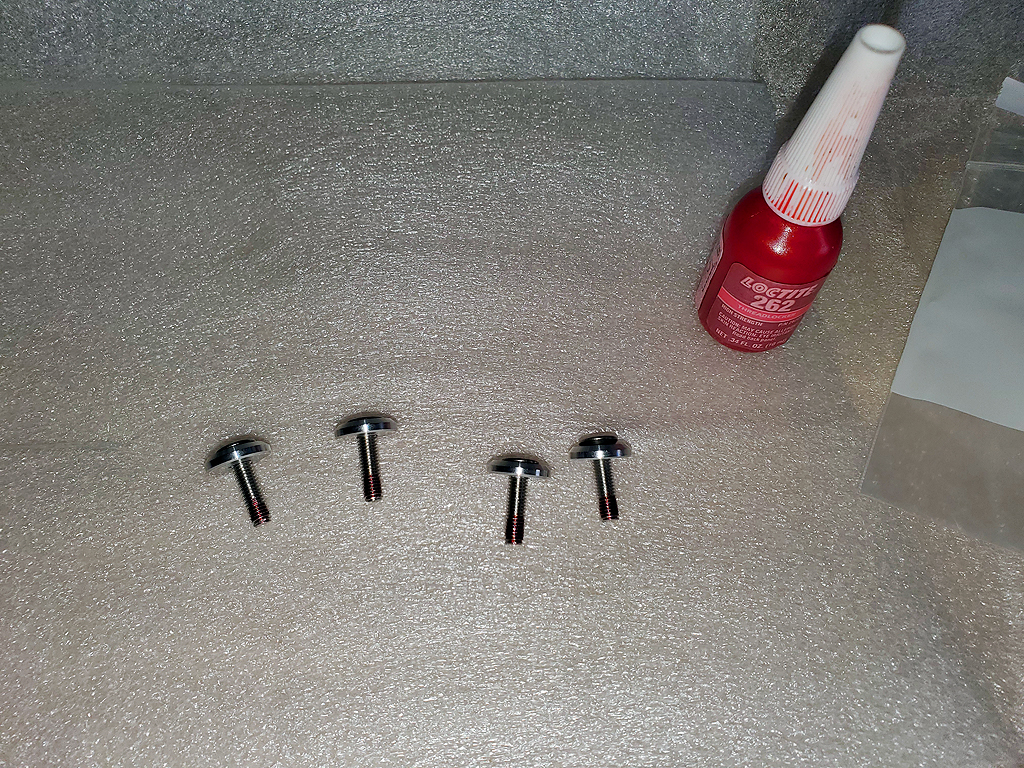
The first step is to install the "handle" piece that the bag locks into.  I opted to use some Loctite to ensure the screws stay in place.
The deck plate and screws weigh 1 lb 6.6 ounces.
Again I opted to use the Loctite to help keep the screws in place on bumpy rides
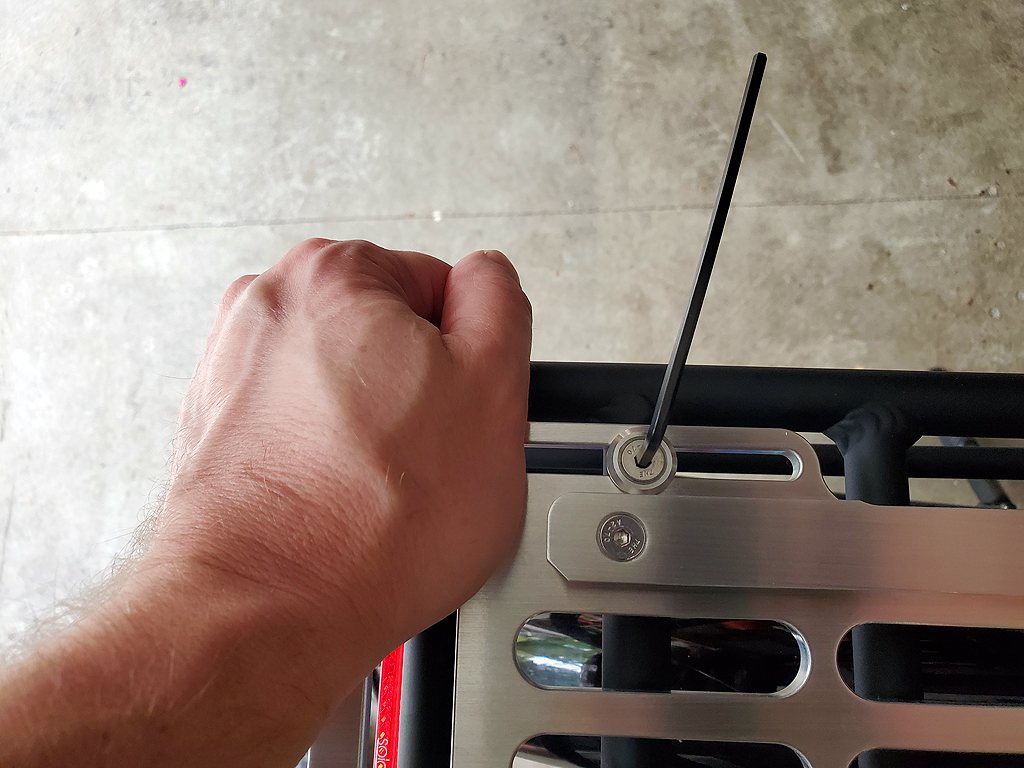
The Deck Plate rocked a little from corner to corner.  I blame the Chinese manufacturing of the RadCity rear rack.  Applying downward pressure with my hand while I tightened the screws ensured a nice tight fit.
With the Deck Plate installed it's almost a shame to cover it up with a rear bag.
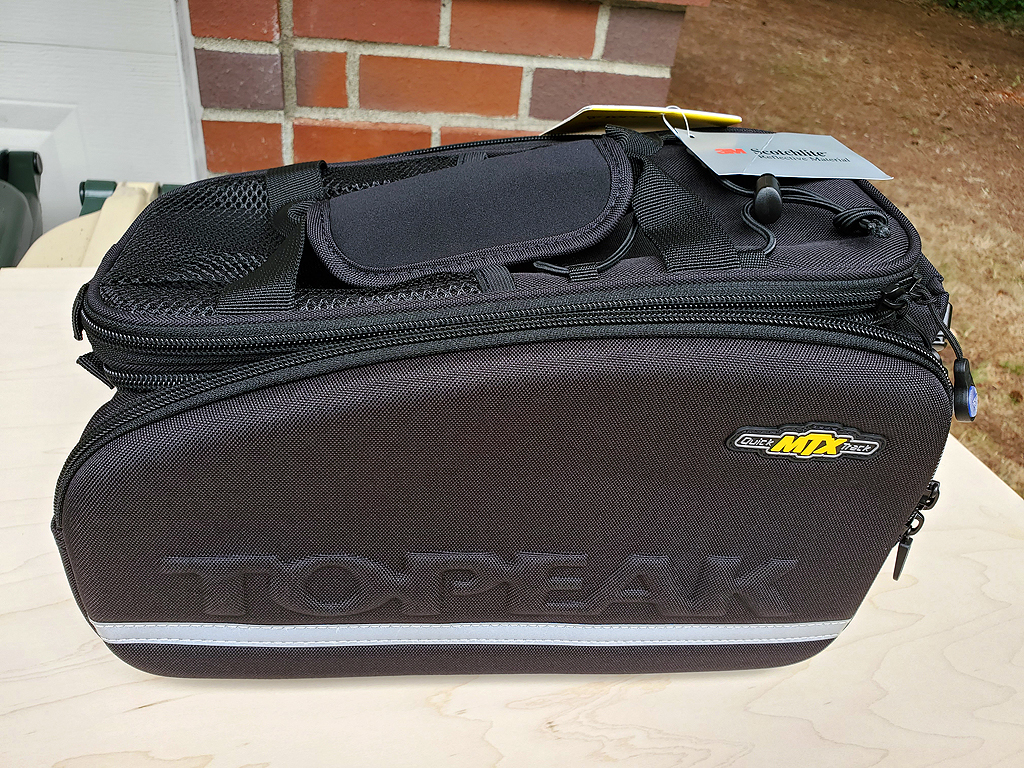
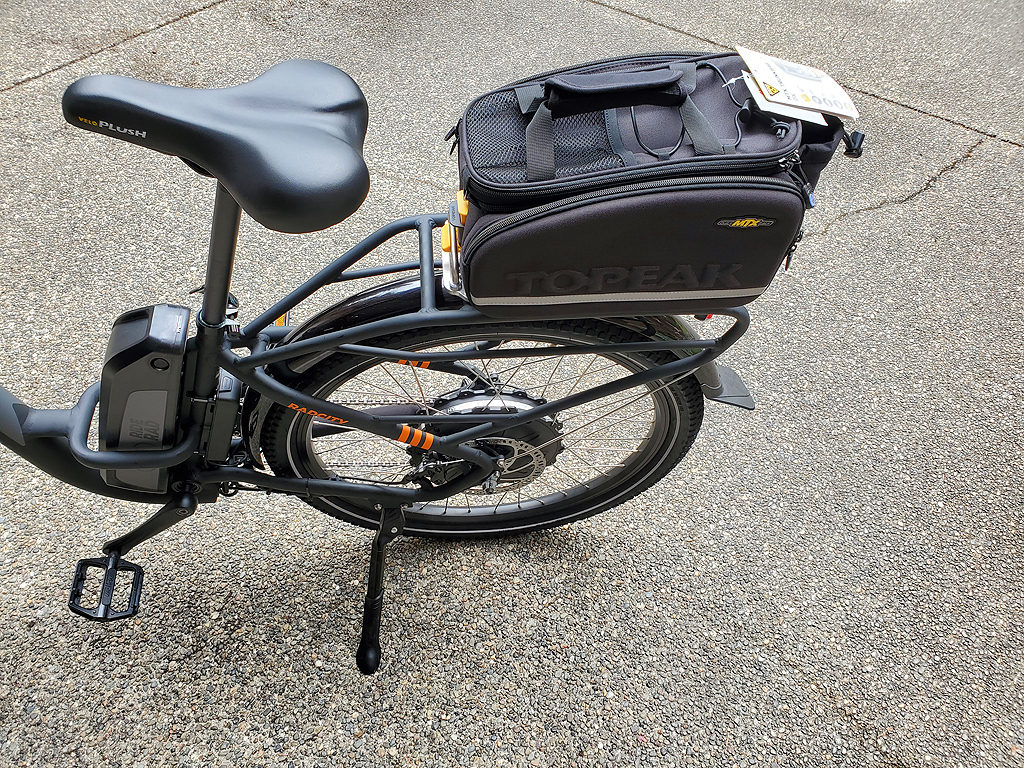
The bag I went with is the Topeak MTX Trunk Bag DX.  I'm not a fan of panniers but those styles are available as well.
The bag slid right into the Deck Plate
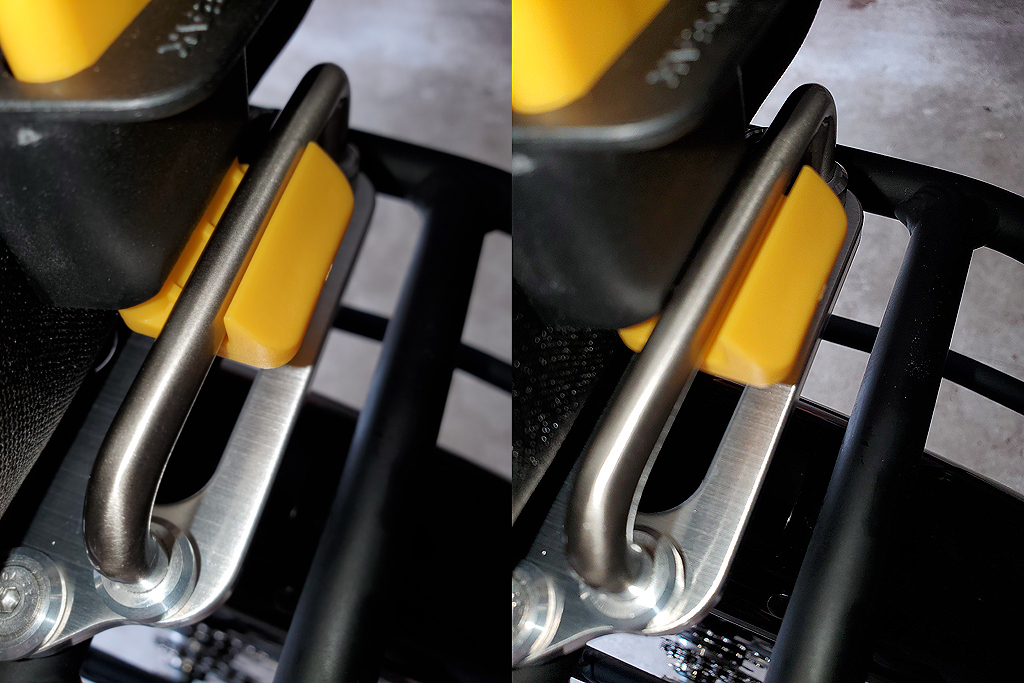
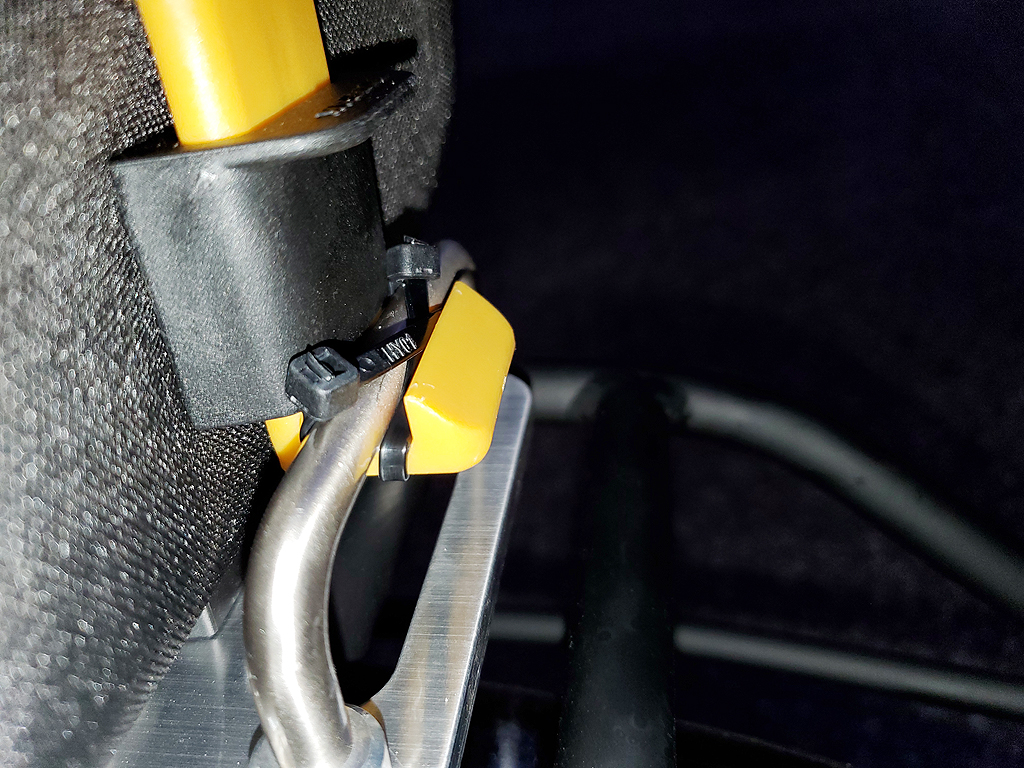
There was some fore and aft play in the bag to Deck Plate connection.  I resolved this with some wire ties.
Wireties in place to secure the front of the bag.
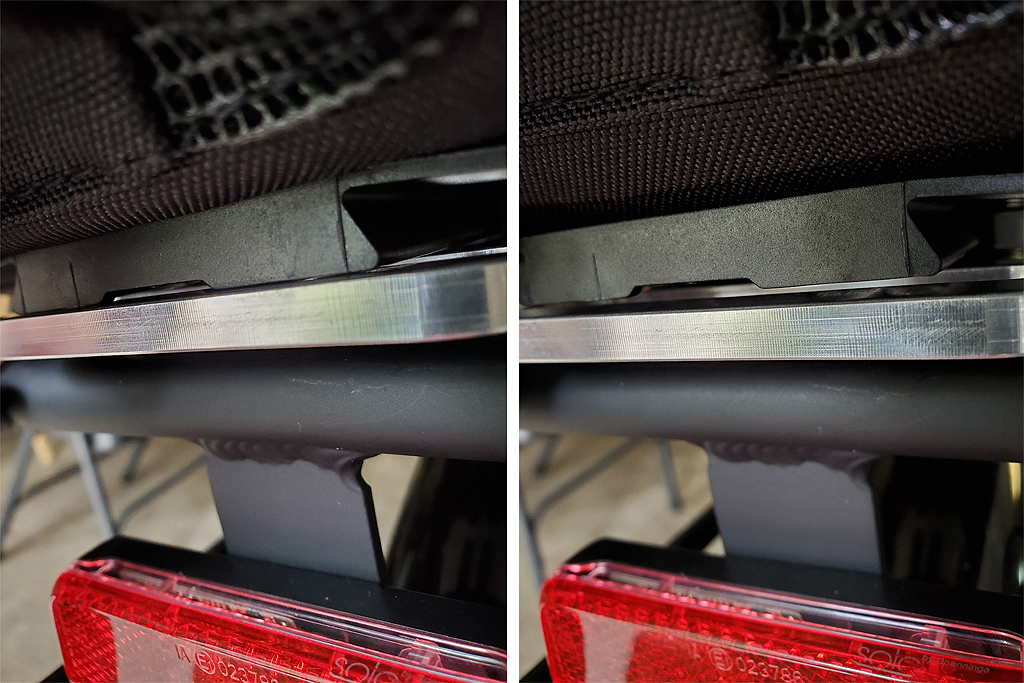
The next area of play was at the rear of the bag and Deck Plate.  There was slight movement up and down at the very rear.
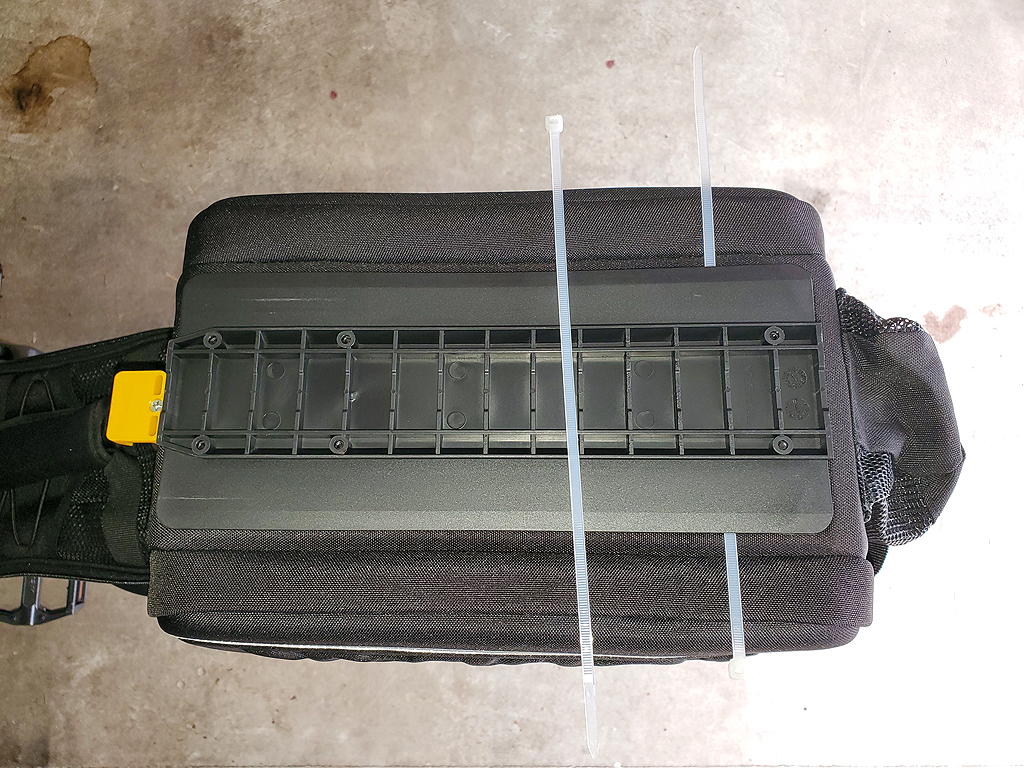
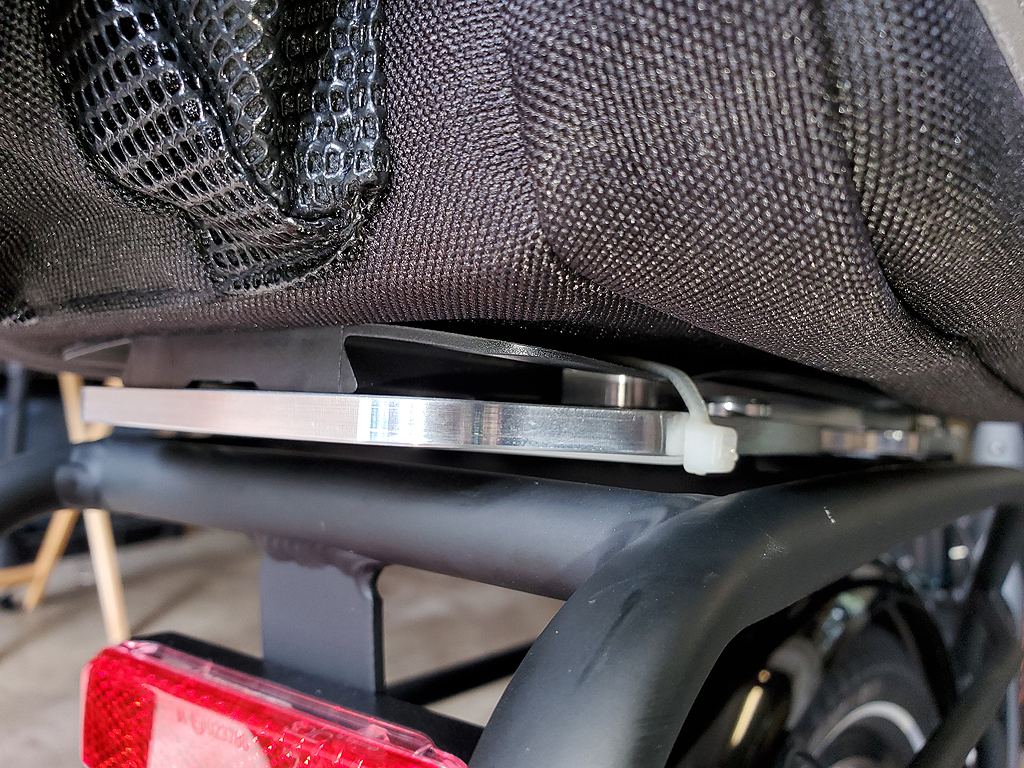
This was resolved again with wire ties between the bag and the bags mounting plate and then run around the rear bike rack.  If you plan on removing your MTX Trunk Bag, then this probably isn't the solution for you.  I think a very small wedge would work as well to keep the bag from rattling when going down the road.
With all the wire ties in place the bag is very solid and absolutely quiet.
And the bag is all ready to go...